 Photo Filters
Black and White Photo
Make a black and white photo from a color picture: grayscale, high contrast or pure black and white. Free, and your photo never leaves your device.
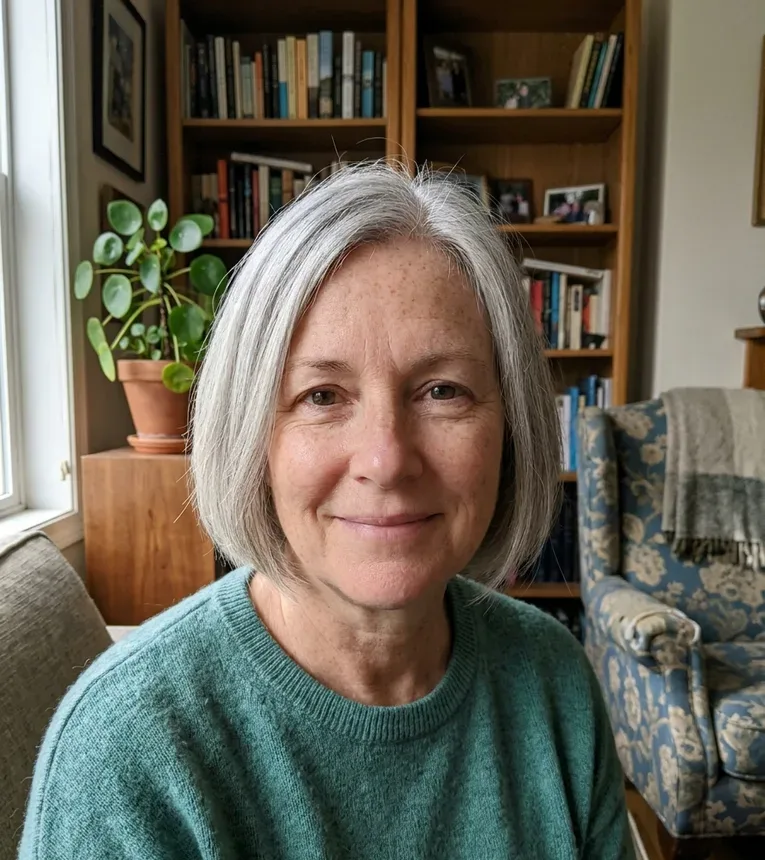 Before
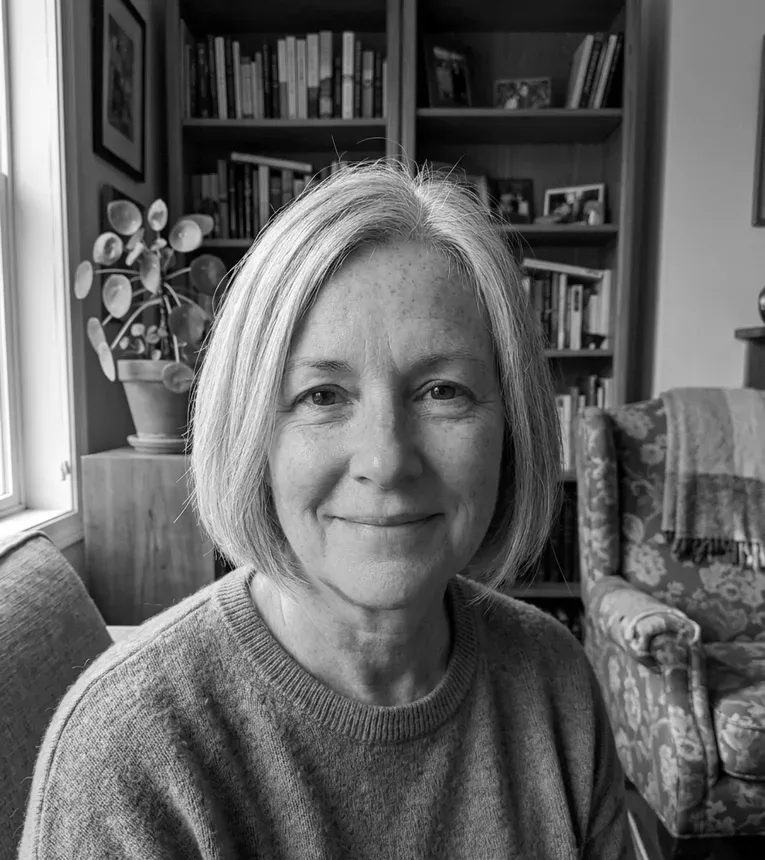 After
Grayscale vs high contrast vs pure black and white
The Style menu has three ways to drop the color. Here is what each one does to your picture.
| Grayscale | High contrast | Pure black and white | |
|---|---|---|---|
| Tones in the result | Every gray from black to white | Every gray, with the midtones pulled apart | Two: black and white only |
| Shadows and highlights | As bright or dark as in the color photo | Shadows darker, highlights brighter | Below the threshold black, the rest white |
| Threshold slider | Not used | Not used | Sets the cut point, 1 to 254 (128 by default) |
| Brightness and Contrast | Lighten, darken or stretch the grays | Shift the grays before the curve | Move where the cut falls |
| Fine detail | Soft gradients stay soft | Midtones stretched; the darkest and lightest tones squeezed close to black and white | Gradients turn into hard edges |
| Good for | Portraits, family photos, readable documents | Street scenes, buildings, stormy skies | Logos, signatures, stencils, stamp-style art |
How a grayscale conversion picks each gray
Every pixel gets one brightness value made from its red, green and blue, weighted 0.2126, 0.7152 and 0.0722. These are the Rec. 709 luma weights, a common standard for turning color into brightness. Green counts most and blue least, so a deep blue sky turns a dark gray while leaves and grass stay fairly light.
It also means two different colors of similar brightness can land on the same gray. A red shirt against a green hedge may blend together in the black and white photo even though they clashed in color. Contrast and the High contrast style both work on that gray, so they can't pull the two apart. There is no per-color mixer here like the color sliders in desktop photo editors.
What the threshold number means
Gray values run from 0 for black to 255 for white. Pure black and white compares each pixel with the Threshold: at or above it the pixel turns white, below it the pixel turns black. The default of 128 cuts at the middle.
Move the threshold up and more of the picture goes black; move it down and more goes white. Brightness and Contrast are applied before the cut, so in this style they also shift where the edge falls. Raising Brightness works much like lowering the threshold. For a scanned signature or a logo on white paper, nudge the threshold until the paper is clean white and the lines stay solid.
How to make a photo black and white
Three steps, all in the browser tab. Nothing is sent to a server.
- 1
Add your color picture
Click the upload box or drop a JPG, PNG or WebP file up to 20 MB. Large photos are scaled so the long side is at most 2400 px, and phone photos come in the right way up.
- 2
Pick a style and tune it
Choose Grayscale, High contrast or Pure black and white, then drag Brightness, Contrast or Threshold. The preview redraws as you drag; press and hold the photo, or hold Space, to see the color original.
- 3
Download the PNG
The Download button saves a PNG named after your file with -black-and-white-photo added. No watermark, no account and no limit on how many photos you convert.
More filters
Frequently asked questions
Upload a JPG, PNG or WebP on this page, pick a style and press Download. It is free, needs no sign-up and adds no watermark. There is no daily limit, because the work happens on your own device.
A grayscale image holds only brightness, no color. Each pixel is a shade between black and white, usually counted from 0 (black) to 255 (white). The Grayscale style here keeps that whole range, so the photo stays detailed and smooth.
In everyday speech a black and white photo is usually a grayscale one, full of grays. Strictly, pure black and white has only two tones. This tool offers both: Grayscale and High contrast keep the grays, while Pure black and white leaves only black and white pixels.
Blue adds very little to brightness in the conversion (0.0722 of the weight, against 0.7152 for green), so blue areas come out dark. Raise Brightness to lift them, or lower Contrast to soften the jump between sky and land.
No. Browser filters process your photo on your device and never upload it. The conversion runs on a canvas in your browser tab, and in our tests no network request carried the photo. Closing or reloading the tab discards both the photo and the result.
Not for large photos. The working size has a long side of at most 2400 px, and the PNG is saved at that size; smaller photos keep their size and are never upscaled. The PNG is drawn fresh, so it carries no camera data or GPS location from the original.
No. The filter turns the whole photo gray; there is no brush, mask or color picker to keep one area in color. Every style applies to every pixel.
No to both. The tool takes JPG, PNG or WebP, one photo at a time. Convert a HEIC file to JPG first, then open it here.
No, the download is always a PNG. There is no JPG or WebP option and no quality setting. PNG is lossless, so the gray tones are not compressed further when you save.
Not with this tool. Converting throws the color information away, so the grays cannot be mapped back to the original colors. Keep your color file; the tool never changes it, it only saves a new PNG.