 Photo Filters
Invert Image
Invert image colors to a photo negative right in your browser. Free, no sign-up, no watermark, and your photo is never uploaded.
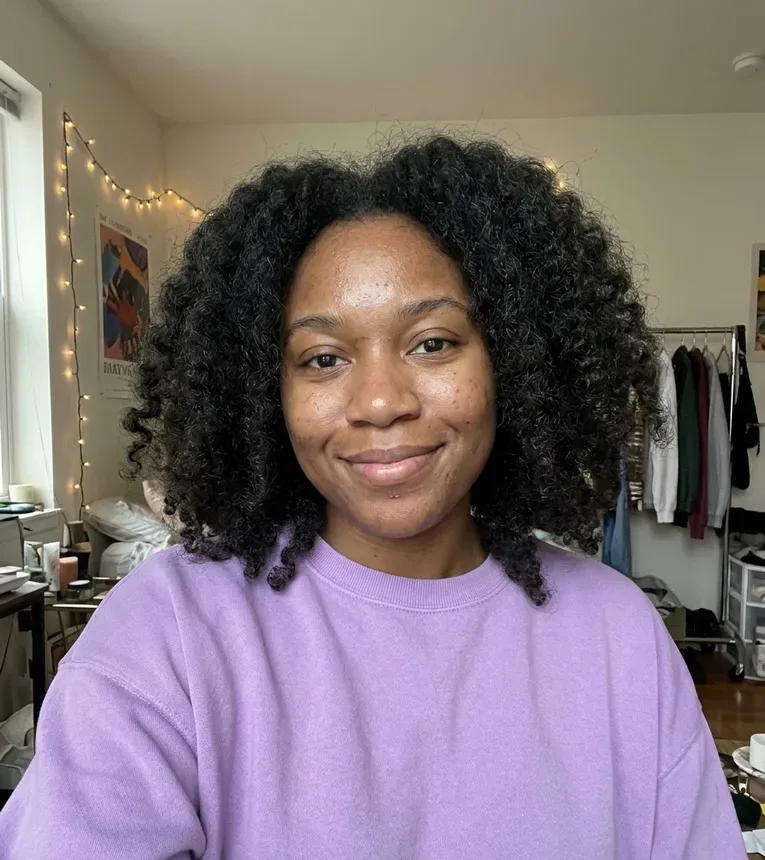 Before
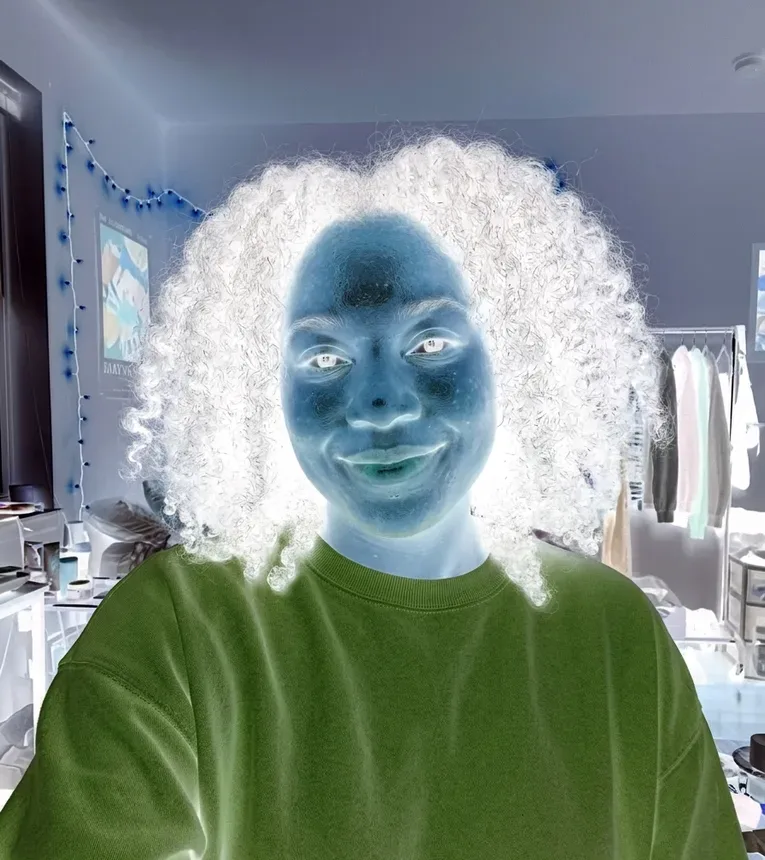 After
What happens when you invert image colors
Inverting replaces every color with its opposite. Each red, green and blue value is subtracted from 255, so black turns white, red turns cyan, green turns magenta and blue turns yellow. Light areas go dark and dark areas go light, which is why the result looks like a strip of film negative.
Two swaps surprise people. Warm skin tones become a dark blue-green, so faces look eerie, and a blue sky turns orange. Inversion does not keep natural hues; it flips all of them.
This page does the full swap by default and lets you stop part of the way with the Strength slider. Everything runs on a canvas in your browser, and the preview updates as you drag.
Made for
- Designers checking contrast
- Film photographers with scanned negatives
- Students making art projects
- Anyone who wants a negative effect
- People preparing dark slides
How to invert an image in three steps
No account and no install: to invert image files you only need this page.
- 1
Add a photo
Click the upload box or drag a JPG, PNG or WebP file onto it, up to 20 MB. The inverted version appears on the right as soon as it loads.
- 2
Set the strength
Strength starts at 100 percent, the full negative. Press and hold the preview, or hold Space, to see the original and compare.
- 3
Download the PNG
Press Download to save the result as a PNG named after your file. Use Replace to invert image files one after another.
How the strength slider changes an inverted picture
The slider is a blend between your photo and its full negative, and the middle is a trap. At 50 percent every pixel lands on the same middle gray, so the picture disappears into a flat gray square.
The useful partial looks sit near the ends. Around 75 to 90 percent you get a softer negative with lower contrast, closer to a faded print than a hard X-ray look. Around 10 to 30 percent the original stays recognisable but turns milky and washed out.
Inverting twice at 100 percent brings back the colors you started with. Download an inverted PNG, open it here and invert image colors again at full strength, and it turns back into a positive.
Where an inverted image is useful
Reasons people invert image colors, from darkroom work to quick design checks.
Viewing film negatives
Photograph or scan a black and white negative, then invert image tones to see the positive. Color negatives have an orange base this page does not remove, so expect a color cast.
Dark slides and screenshots
A white diagram or screenshot becomes a dark one for a dark slide deck. Colored elements change hue too, so a blue button turns orange.
Negative art effects
Inverted portraits, plants and city lights make striking posters and album covers. Try a partial strength for a ghostly, low-contrast version.
Checking a design
An inverted copy of a layout shows which areas carry the most light and dark weight, a quick contrast check before you export.
Reading faint marks
Pencil notes or faded scans sometimes stand out better as light lines on dark. Invert, compare with the original, keep whichever reads better.
Social posts and memes
A negative version of a familiar photo grabs attention in a feed. Pair it with another filter by downloading the PNG and opening it on a second filter page.
Frequently asked questions
Open this page, drop in a JPG, PNG or WebP photo and the colors invert at once. Leave Strength at 100 percent for a full negative, then press Download to save a PNG. In desktop editors the same command is usually called Invert in the image adjustments menu.
An inverted picture has every color swapped for its opposite: black for white, red for cyan, green for magenta, blue for yellow. Bright parts become dark and dark parts bright, like a film negative.
Use this page in your phone browser to invert image files. The preview sits on top and the controls below. Tap the upload box, pick a JPG, PNG or WebP photo, then tap Download. iPhone camera photos are often saved as HEIC, which this page does not accept, so convert them to JPG first.
Take a photo of the negative against a bright, even light, save it as JPG and open it here at 100 percent strength. Black and white negatives turn into a normal positive. Color negatives also need their orange film mask corrected: inverting turns that orange into a blue cast, and this tool does not correct it.
Yes. The Strength slider runs from 0 to 100 percent and blends the negative with your photo. Avoid the middle: at 50 percent the whole image turns the same flat gray.
Yes. Open the inverted PNG on this page and invert image colors again at 100 percent. Two full inversions return the original colors.
No. This page inverts red, green and blue together. There is no channel picker, mask or brush, so the whole photo is inverted.
No. Browser filters process your photo on your device and never upload it. The inversion runs on a canvas in your browser, and closing or reloading the tab discards the photo and the result.
It is free, with no sign-up, no watermark and no limit on photos or downloads. The site counts page views with cookieless analytics, but no photo data is part of that.
Photos up to 2400 pixels on the long side keep their size. Larger photos are scaled down to 2400 pixels before the filter runs, and nothing is upscaled. The PNG is saved fresh from the canvas, so it carries no camera data or GPS location.
Yes. It inverts the colors and leaves the transparency of a PNG as it was, so clear areas stay clear in the download.